
Introduction: Why Build Your Own Keyboard?
In a world of mass-produced plastic, the custom mechanical keyboard stands as a beacon of personalization, quality, and craftsmanship. But why go through the effort of building one yourself? For many enthusiasts in 2026, it\'s about the "Holy Grail" of typing: finding the exact sound (the "thock"), the exact feel, and the exact look that makes working or gaming a joyful experience.
Building a keyboard is more than just a DIY project—it\'s a manageable entry point into electronics and mechanical design. Whether you\'re a programmer looking for the perfect coding partner or a gamer seeking a competitive edge, this guide will take you through every step of the process. Don\'t be intimidated; by the end of this 1500-word guide, you\'ll have the confidence to build a board that will last a lifetime.
Section 1: The Anatomy of a Custom Keyboard
Before you buy your first part, you need to understand what actually goes into a custom board. Modern mechanical keyboards are modular, consisting of five core components.
1. The Case
The case is the body of your keyboard. It provides the weight and determines the overall sound profile. Popular materials include aluminum (heavy and premium), polycarbonate (soft and translucent for RGB), and wood (warm and unique). In 2026, "gasket mount" cases are the standard, as they provide a flexible, comfortable typing feel by sandwiching the internals between rubber layers.
2. The PCB (Printed Circuit Board)
The PCB is the brain. It contains the micro-controller that registers your keypresses. For beginners, we highly recommend a **Hot-Swap PCB**. This allows you to simply click switches in place without any soldering. If you want a more permanent and durable bond, you can choose a solderable PCB, which requires a basic soldering iron and some patience.
3. The Plate
The plate holds the switches in place and provides structural rigidity. The material of the plate significantly affects the sound: Brass is stiff and high-pitched, while FR4 (the material used in PCBs) and Pom are flexible and provide a deeper sound.
4. The Switches
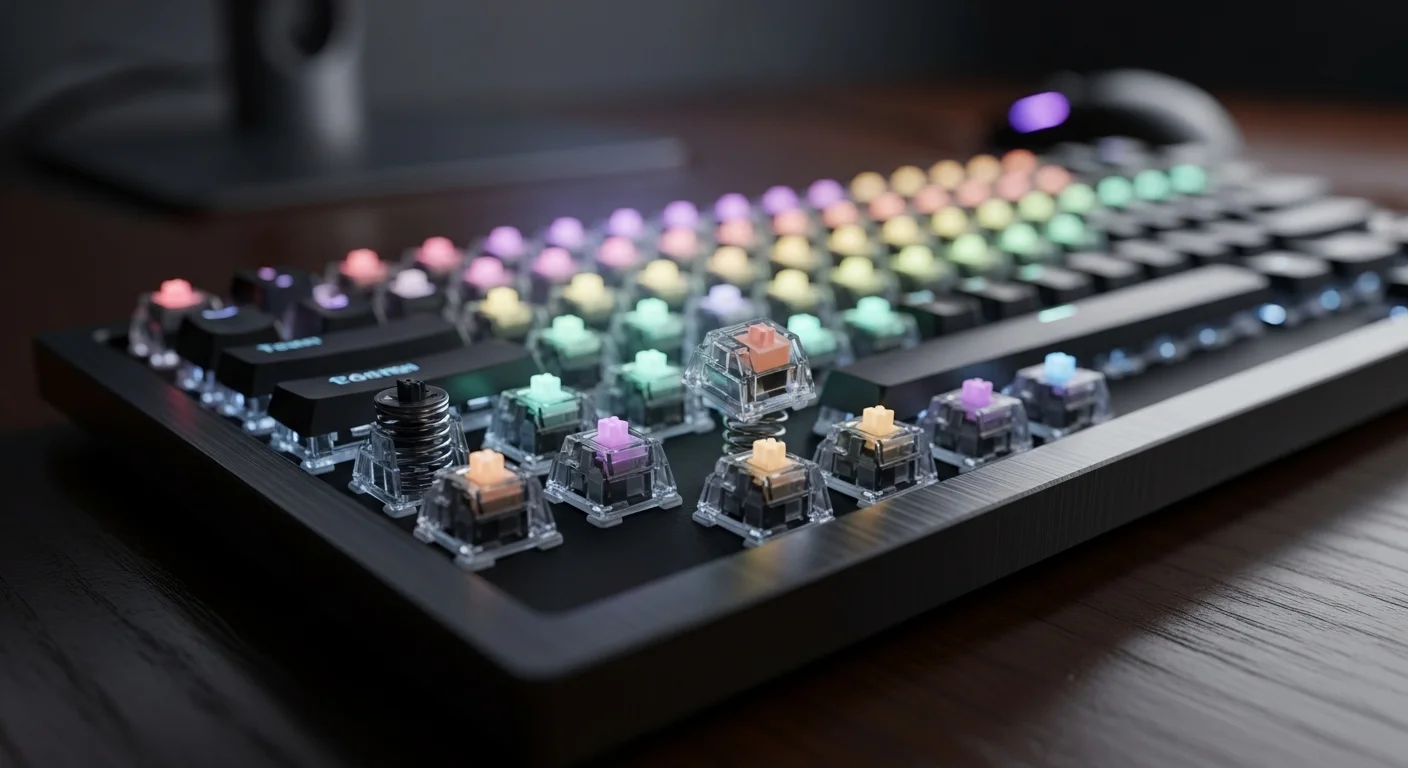
The switches are the soul of the keyboard. You must decide between Linear (smooth), Tactile (bumpy), or Clicky (noisy). In current 2026 trends, pre-lubricated tactile switches like the "Keytest Cream" hybrids are the top choice for beginners who want a premium feel right out of the box.
5. Stabilizers
These are the small mechanisms that sit under the long keys (Spacebar, Enter, Shift) to stop them from wobbling. Never skip "tuning" your stabilizers—they are often the difference between a board that feels like a toy and one that feels like a luxury car.
Section 2: Tools You Will Need
You don\'t need a full workshop, but a few specialized tools will make your life much easier:
- Keycap Puller: For removing keycaps safely.
- Switch Puller: For extracting switches from a hot-swap PCB.
- Precision Screwdriver Set: Most cases use tiny M2 or M3 screws.
- Tweezers: Essential for testing the PCB and placing small components.
- Switch Lubricant (Optional but recommended): Krytox 205g0 is the industry standard for a smoother feel.
Section 3: Phase 1 – Testing and Preparation
The most common mistake beginners make is assembling the entire board before testing the PCB. Once the PCB arrives, plug it into your computer and visit a tool like Keytest.io. Use your tweezers to touch the two metal pads of each key position on the back of the PCB. If the key lights up on the screen, the PCB is working!
Pro Tip: Check each and every key, including the ones you might not use in your specific layout. It only takes two minutes and saves hours of frustration later.
Section 4: Phase 2 – Installing Stabilizers
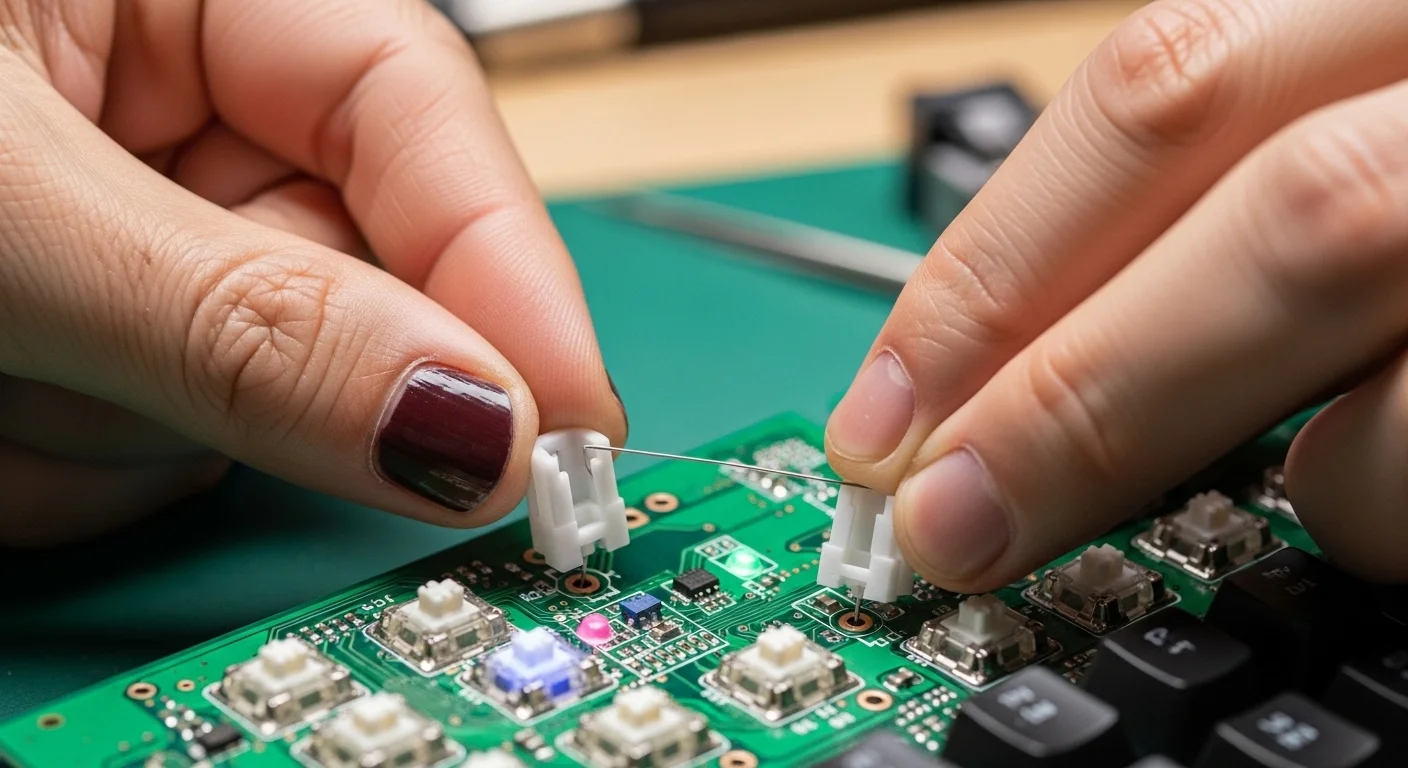
If you\'re using "screw-in" stabilizers, you\'ll install them directly onto the PCB now. If you\'re using "plate-mount" ones, they go on after the plate. Before installing, apply a small amount of lubricant to the wire and the plastic housing. This eliminates the annoying "rattle" that plagues cheap keyboards.
Section 5: Phase 3 – Switches and Assembly
Now comes the most satisfying part. Lay your plate over the PCB. If you have a hot-swap board, carefully align the two metal pins of the switch with the sockets on the PCB and push down until it clicks. Be gentle! If a pin is slightly bent, it won\'t go in. Take it out, straighten the pin with your tweezers, and try again.
Once all the switches are in, visit Keytest.io again. Press each physical switch. Every one should register. If one doesn\'t, it\'s likely a bent pin.
Section 6: Final Polish – Case and Keycaps
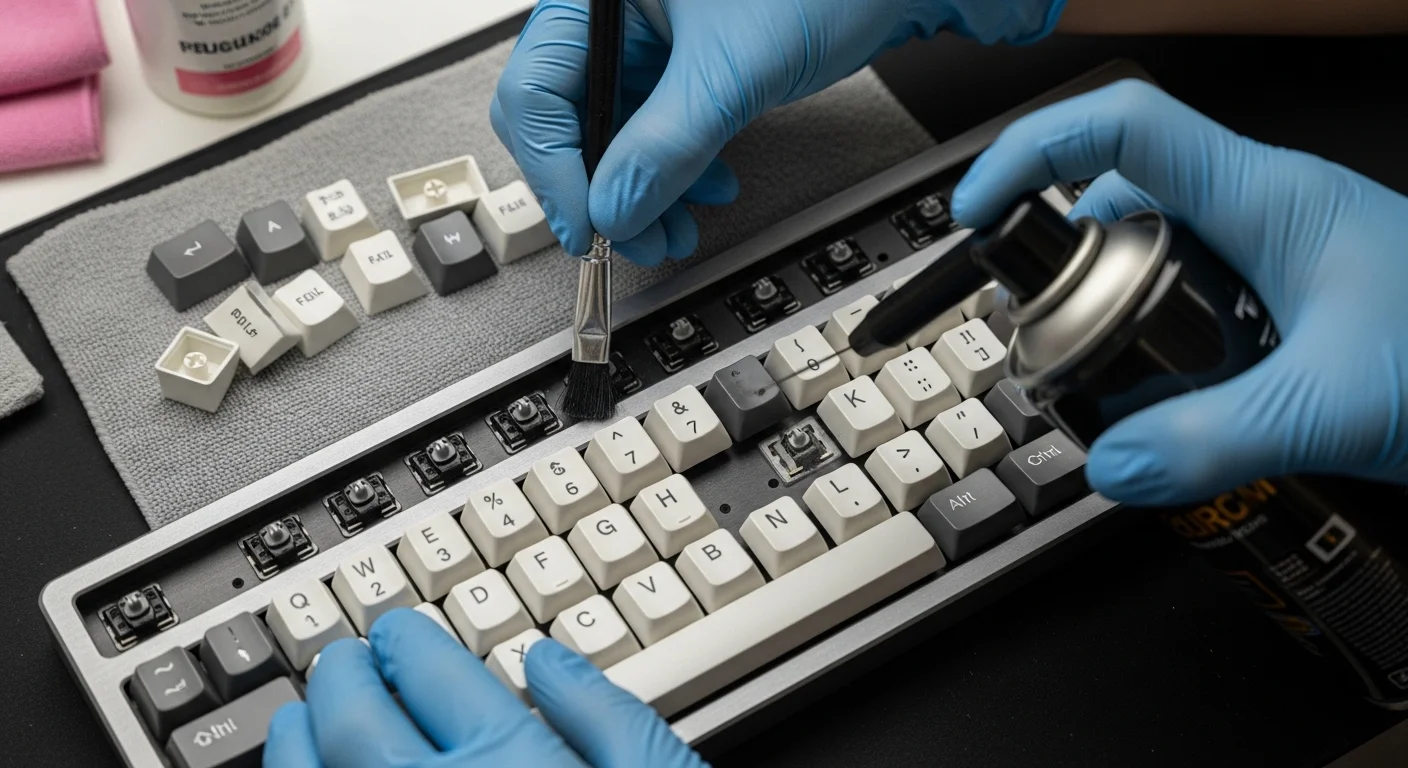
Carefully lower your completed PCB/Plate assembly into the case. Fasten the screws in a "star" pattern (like tightening the lug nuts on a car tire) to ensure even pressure across the gasket or mounting points. Finally, push on your keycaps.
Choosing your keycaps
Double-shot PBT keycaps are the gold standard for longevity. They won\'t shine over time, and the legends (letters) will never fade because they are molded from a separate piece of plastic. Look for a set that matches your desk aesthetic—there are thousands of designs available, from vintage beige to neon cyberpunk.
The Beginner\'s Build Checklist
| Step | Action | Tool Needed |
|---|---|---|
| Prep | PCB Testing at Keytest.io | Tweezers |
| Stabs | Lube and Install Stabilizers | Lube, Brush |
| Heart | Insert Switches into Plate/PCB | Your Hands |
| Verify | Final Hardware Test | Keytest.io |
| Finish | Assemble Case and Keycaps | Screwdriver |
Frequently Asked Questions
Q: Is it cheaper to build a keyboard than to buy one?
Initially, no. Custom building usually costs more because you are buying higher-quality individual components. However, a custom board can be repaired and maintained indefinitely, making it a better long-term investment.
Q: Does building a keyboard require a lot of technical skill?
If you choose a hot-swap PCB, no! It\'s essentially "Lego for grown-ups." Soldering is a slightly higher skill level but still very manageable for a beginner with a $20 iron.
Q: Where do I buy parts in 2026?
Regional vendors are now common. In the US, companies like CannonKeys and NovelKeys lead the way, while KBDFans remains a global powerhouse for parts.
Conclusion: Welcome to the Community
Congratulations! You\'ve just built more than a computer peripheral; you\'ve built a piece of hardware that is uniquely yours. Every time you type a line of code, draft an email, or win a match, you\'ll feel the results of your own handiwork. The custom keyboard hobby is a deep rabbit hole, and this is just the beginning. Welcome to the community.
Think your new custom build might have a faulty switch? Don\'t guess—benchmark it with the most reliable tool in the scene.
Verify your build on Keytest.io → Start TestShare your build photos and this guide with other prospective builders!