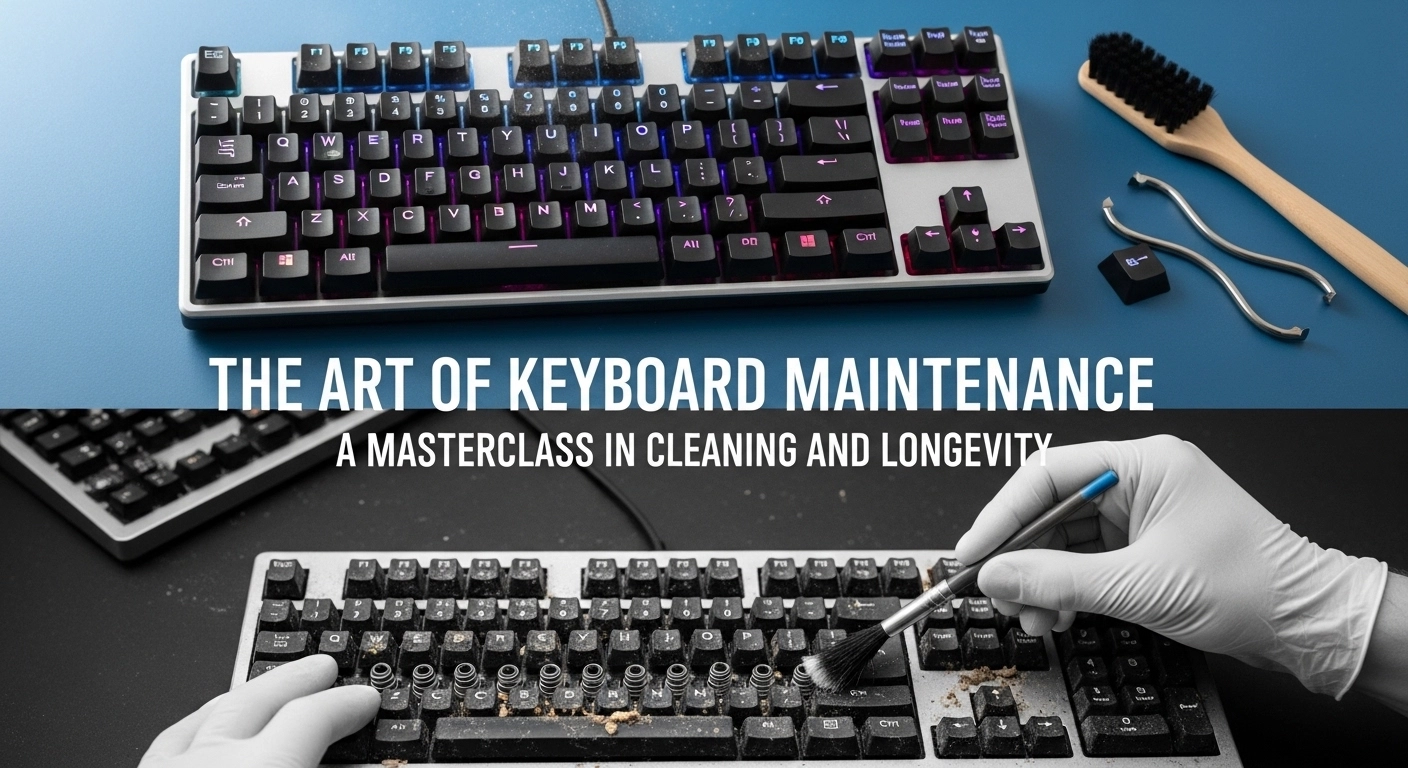
Introduction: Why Maintenance is Part of the Hobby
A high-end mechanical keyboard in 2026 is an investment. Whether you spent $100 or $1,000, your keyboard is a precision tool that endures thousands of physical impacts and exposure to dust, skin oils, and environmental debris every single day. Without proper care, your premium switches will become scratchy, your keycaps will lose their texture, and your PCB may eventually fail due to microscopic oxidation. Maintenance isn\'t just about aesthetics—it\'s about preserving the life of your hardware.
In this 1500-word masterclass, we move beyond the simple damp cloth. We explore the professional-grade tools and techniques used by keyboard restorers and enthusiasts to keep their boards in pristine condition. From ultrasonic cleaning to re-lubrication, this is your definitive guide to keyboard longevity.
Section 1: The Daily and Weekly Ritual
The best way to avoid a grueling deep clean is to maintain a consistent baseline. In 2026, the two most important tools for daily maintenance are a **Microfiber Cloth** and a **Compressed Air Duster**.
Combatting Skin Oils
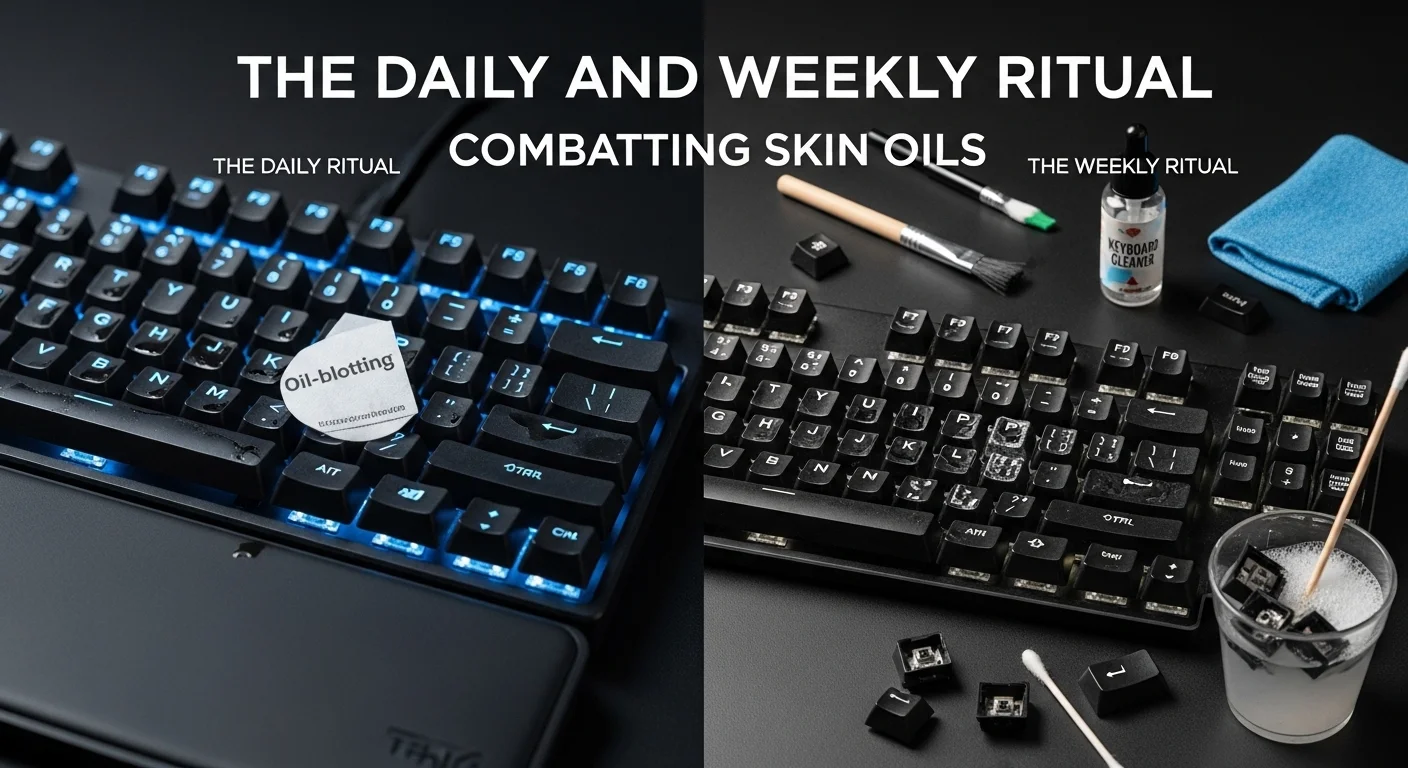
At the end of every day, a 30-second wipe-down of your keycaps with a dry microfiber cloth will remove the corrosive oils from your fingertips. This is the single most effective way to prevent the dreaded "shine" on ABS keycaps. Never use harsh alcohol-based cleaners on your keycaps, as they can physically melt some types of plastic or damage the legends.
The Dust Patrol
Once a week, use compressed air to blow out the debris trapped between the switches. In 2026, electric air dusters have replaced the old disposable cans—they are more powerful, eco-friendly, and don\'t spray freezing liquid onto your sensitive PCB components.
Section 2: The Semi-Annual Deep Clean
Every six months, your keyboard deserves a full breakdown. This is a multi-step process that requires patience and the right environment.
Step 1: Systematic Teardown
Start by removing all keycaps using a wire keycap puller (avoid plastic ring pullers, as they scratch the sides of the caps). If you have a hotswap board, remove the switches as well. Place all these components in labeled trays—never just pile them onto your desk.
Step 2: Ultrasonic Cleaning
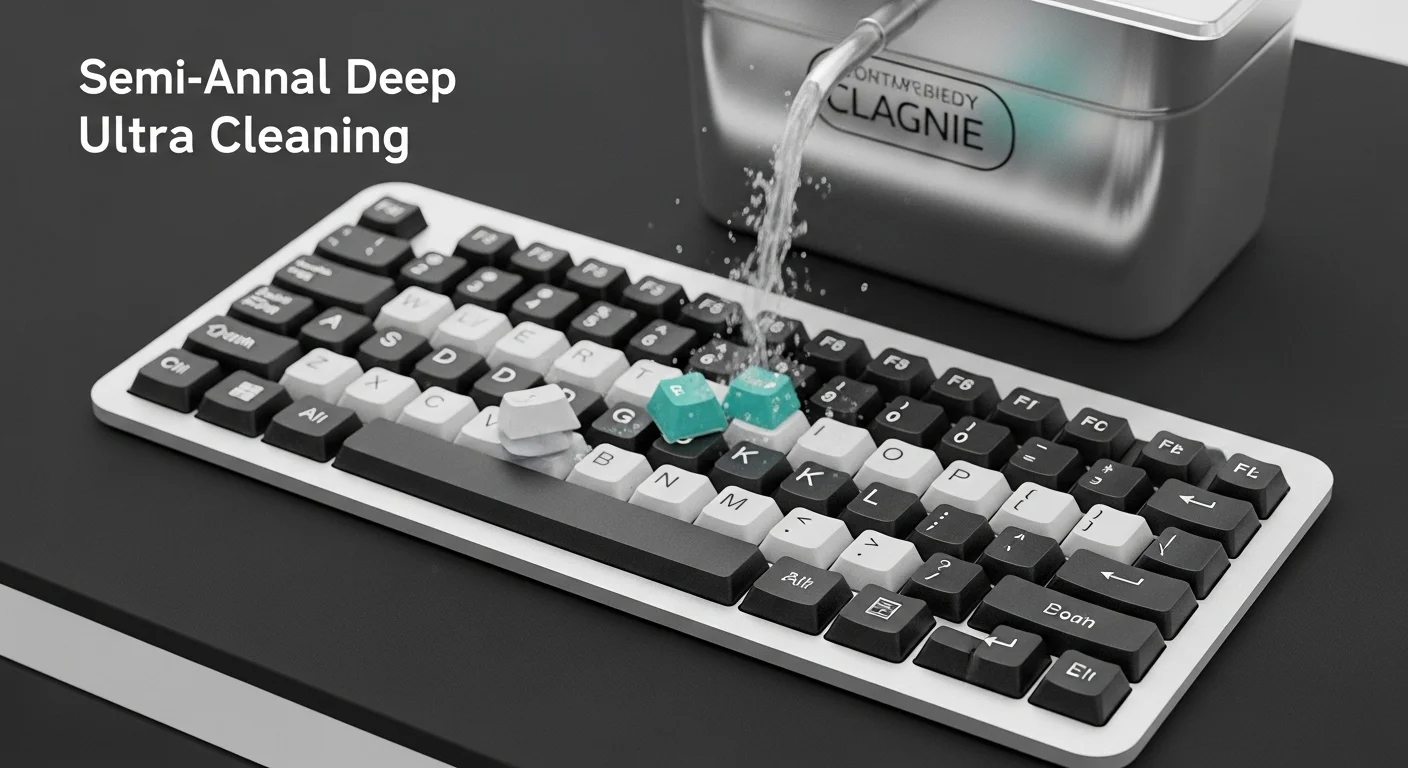
In 2026, serious enthusiasts use ultrasonic cleaners for their keycaps and stabilizer parts. These machines use high-frequency sound waves in warm water to reach every microscopic crack and crevice. If you don\'t have one, a bowl of warm water with a small amount of mild dish soap works well. **Crucial:** Ensure all parts are 100% dry (ideally air-dried for 24 hours) before reassembly to prevent short-circuiting the board.
Step 3: Cleaning the Case and Plate
While the internal parts are drying, use a soft brush and a vacuum with a narrow attachment to clean the case and plate. Be extremely careful around the PCB sockets—never use a wet cloth directly on the circuit board.
Section 3: Switch Maintenance and Re-Lubrication
Mechanical switches are mechanical—they move, they create friction, and they eventually lose their factory lubrication. In 2026, we have two ways to maintain switches.
Maintaining Pre-Lubed Switches
Most modern switches come pre-lubed. Over 1-2 years of heavy use, you may notice certain keys (like the Spacebar or common letters) becoming "pingy" or scratchy. For hotswap boards, simply swap these high-use switches for fresh ones. If you want to go the extra mile, you can open the switch housing and re-apply a tiny amount of **Krytox 205g0** to the stems and rails.
Revitalizing Stabilizers

If your large keys have started to rattle, it\'s usually because the stabilizer grease has migrated away from the wire. A syringe with a blunt-tip needle allows you to inject a small amount of dielectric grease directly into the stabilizer housing without taking the whole keyboard apart. This is a "miracle fix" for most rattle issues.
Section 4: The Environmental Context
Where you keep your keyboard matters. In 2026, the "Desk Mat Revolution" has provided more than just aesthetics. A high-quality wool or microfiber desk mat acts as a filter, catching dust before it reaches your keyboard. Additionally, avoid eating near your board. Crumbs are the number one cause of jammed switches and organic decay inside custom cases.
Cleaning Frequency Cheat Sheet
| Component | Daily | Monthly | Yearly |
|---|---|---|---|
| Keycaps | Cloth Wipe | Surface wipe | Ultrasonic Wash |
| Case | - | Dust blow-out | Deep scrub | - | - | Check lube / Swap |
| Stabilizers | - | - | Re-greasing |
Section 5: Dealing with Spills
If the worst happens and you spill a liquid on your keyboard, every second counts. In 2026, our advice remains the same:
- Unplug it immediately: Electrical current + liquid = dead PCB.
- Flip it: Turn it upside down to let the liquid drain out, rather than seeping deeper into the sockets.
- Disassemble: Take everything apart. If it was a sugary drink, you **must** clean the PCB with 99% Isopropyl alcohol to remove the sticky residue.
- Patience: Do not plug it back in for at least 48 hours. Let it air dry completely.
Frequently Asked Questions
Q: Can I use a dishwasher for my keycaps?
Absolutely not. The heat and harsh chemicals in dishwasher tablets can warp PBT and melt ABS keycaps entirely. Stick to hand washing or ultrasonic cleaners.
Q: My keys are sticking but I didn\'t spill anything. What is it?
This is usually "micro-debris" mixed with skin oil. A deep clean of the keycaps and a blast of compressed air into the switches usually fixes this.
Q: How long should a custom keyboard last?
With proper maintenance, a custom mechanical keyboard can easily last 20+ years. The PCB is the only part that might eventually fail, and even then, they are often replaceable.
Conclusion
Your keyboard is a partner in your work and your play. Treat it with the respect that a precision instrument deserves. By dedicating just a few minutes a week and a couple of hours a year to proper maintenance, you ensure that your typing experience remains as crisp and satisfying as the day you first unboxed it. The clatter of a clean, well-tuned mechanical keyboard is the sound of a tool that will never let you down.
Think your keyboard is showing signs of age or inconsistency? Run a diagnostic test now to see if your switches are operating at 100%.
Check your switch health on Keytest.io → Start TestShare this maintenance guide with your friends to save their keyboards (and their sanity)!